I’ve always admired the design of the older 27” iMacs. Back when they were still current, I couldn’t really afford one, so owning one became one of those small “maybe one day” dreams from my student years.
Recently, I revived that desire and decided to finally get one. Not because I needed another computer, but because I still really liked the hardware itself — especially the body and the display. The problem is that these older Intel iMacs don’t really hold up that well anymore for modern use. So instead of using it as a computer, I thought it would be much more interesting to turn it into an external monitor. After all, it was the iMac’s body that I cared about.
I had done some research to see if it’s even possible to do that and found out that the internet was full of articles and videos from people who had already done this. So I found a used 27” iMac online and decided to give it a try. In this post I’ll do a quick breakdown of how the whole project went and what the process looked like.
The process and what’s needed
First I had to do some research to fully understand what’s actually needed for this project.
I read a couple of articles and watched a some videos, but the one made by Quinn Nelson from Snazzy Labs was by far the best and most thorough one I could find, so in the end I mostly followed his process. These two articles also came in handy, mostly to confirm the information from multiple sources:
After this, I had a much better idea of what I was about to get myself into.
First of all, I needed a controller board that makes all of this possible. Turns out the Chinese didn’t disappoint and created a board specifically for this purpose.
As I wanted to do this properly, I also didn’t want any cables sticking out of the back of the iMac. Luckily, someone created a 3D printable connectors mount that replaces the original RAM cover and gives the whole thing a much cleaner look.
Apart from that, I needed short HDMI and DVI cables that connect the controller board to the rear panel mount connectors.
I also bought a speakers crossover board that allows the original iMac speakers to be reused, and a new set of adhesive strips to seal the iMac back together afterwards.
Here’s the full list of parts I ended up buying.
- iMac 27” 2015 — 200€
- Adhesive strips + toolkit (AliExpress) ~2.5€
- Controller board + power supply (Aliexpress) ~76€
- Speaker crossover (Aliexpress) ~10€
- HDMI panel mount cable ~6€
- DisplayPort panel mount cable (Aliexpress) ~12€
- 3D printed connectors mount ~24€
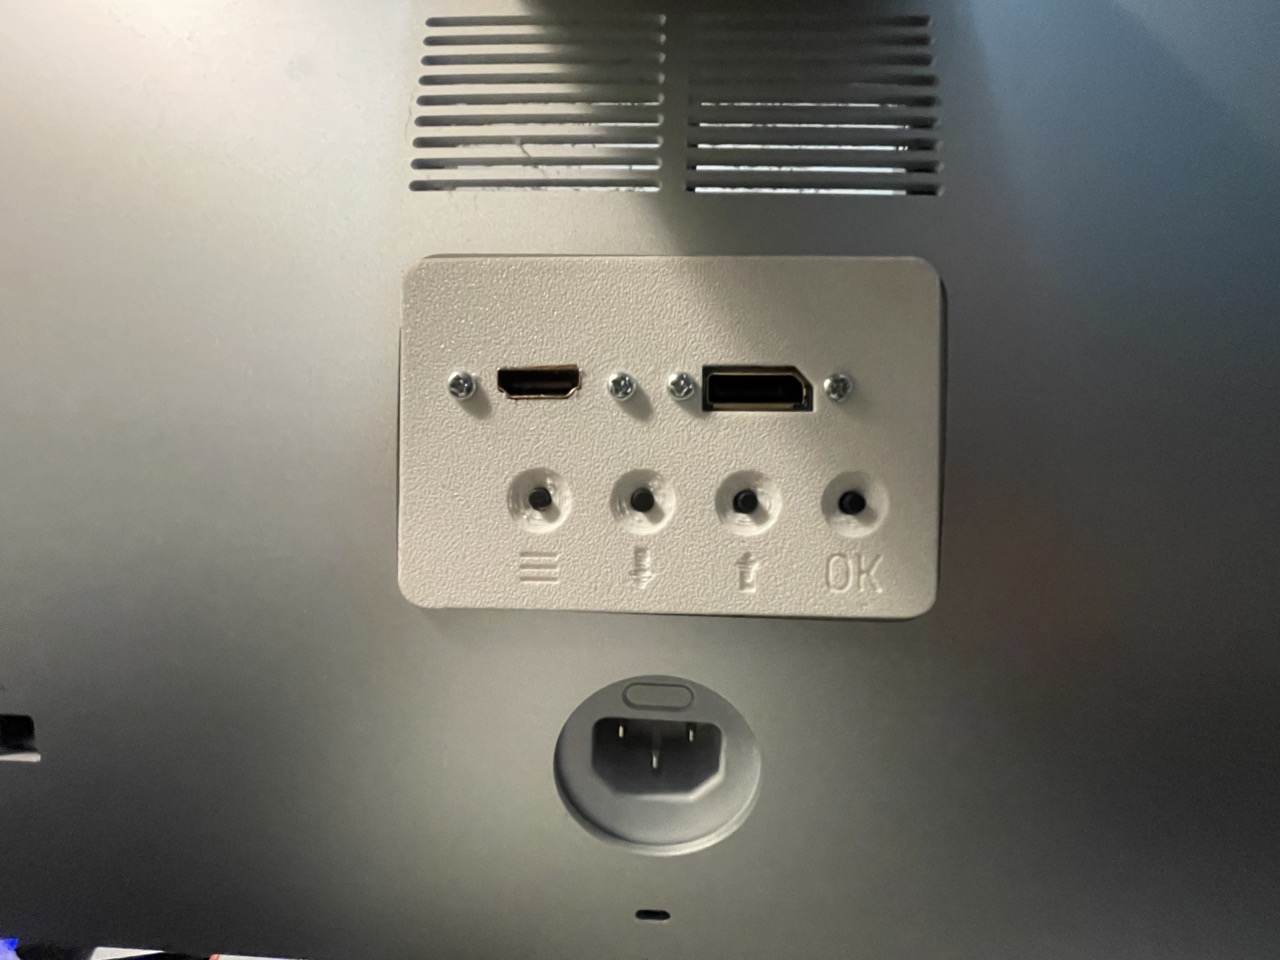
To make the ports accessible from the outside, I used this custom back cover - iMac Studio Display Mod. There are quite a few additional pieces you can print, but I only used iMac_RAM_Cover_Rear.stl and iMac_RAM_Cover_Buttons_and_DP_USB_C.stl.
Step 1: Opening the iMac
This was definitely the scariest part and mentally the hardest step of the whole project. I was about to completely gut a fully functional iMac and at one point I almost gave up on the idea because I simply didn’t want to destroy it. But as I mentioned earlier, the machine is already 10 years old and doesn’t really meet today’s standards anymore anyway.
The display is glued to the chassis, so the first step is carefully cutting through the adhesive without cracking the panel. This iFixit tutorial helped me a lot to make sure I wouldn’t break anything while opening it.
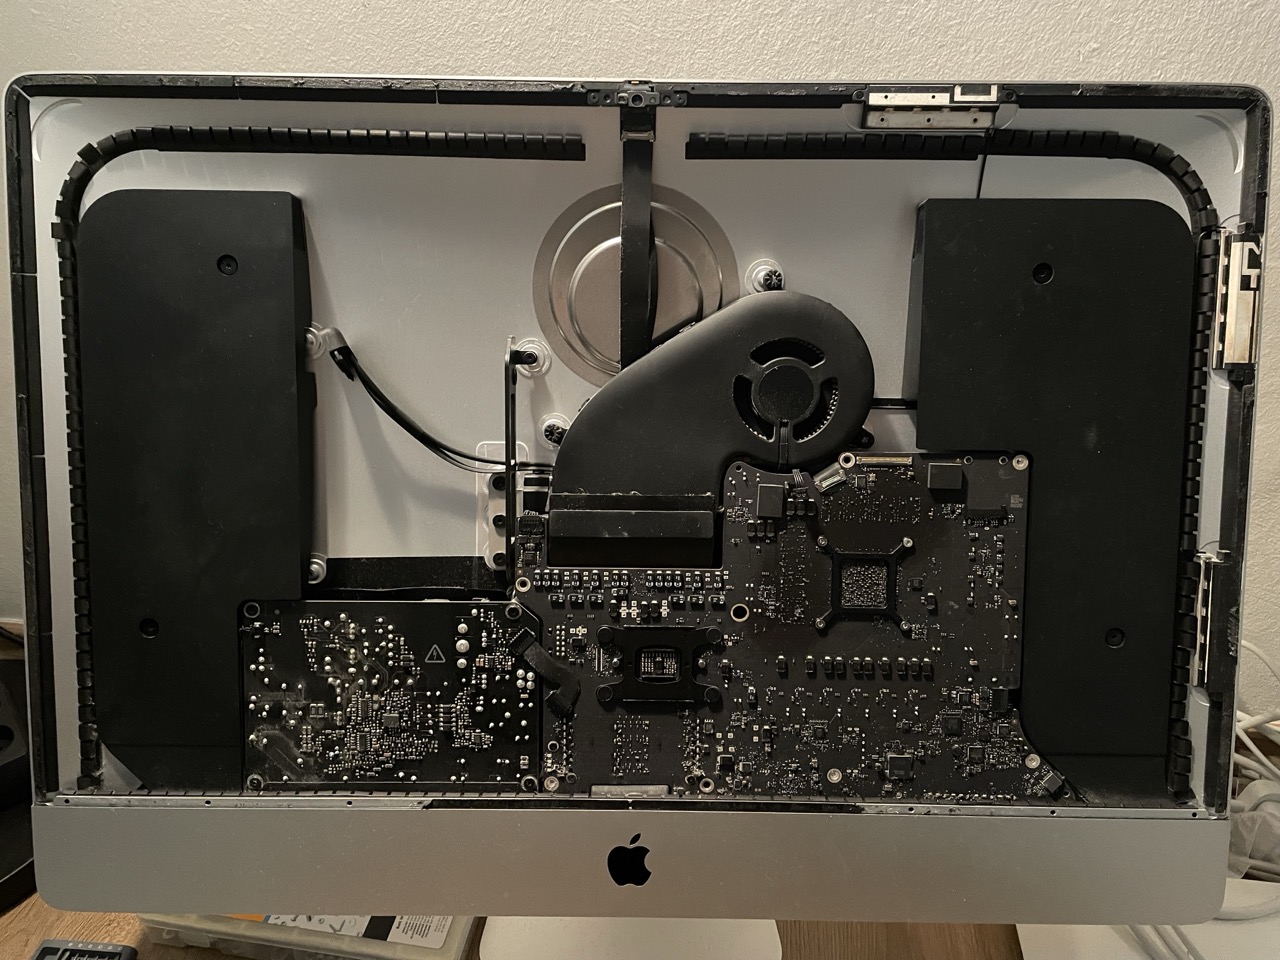
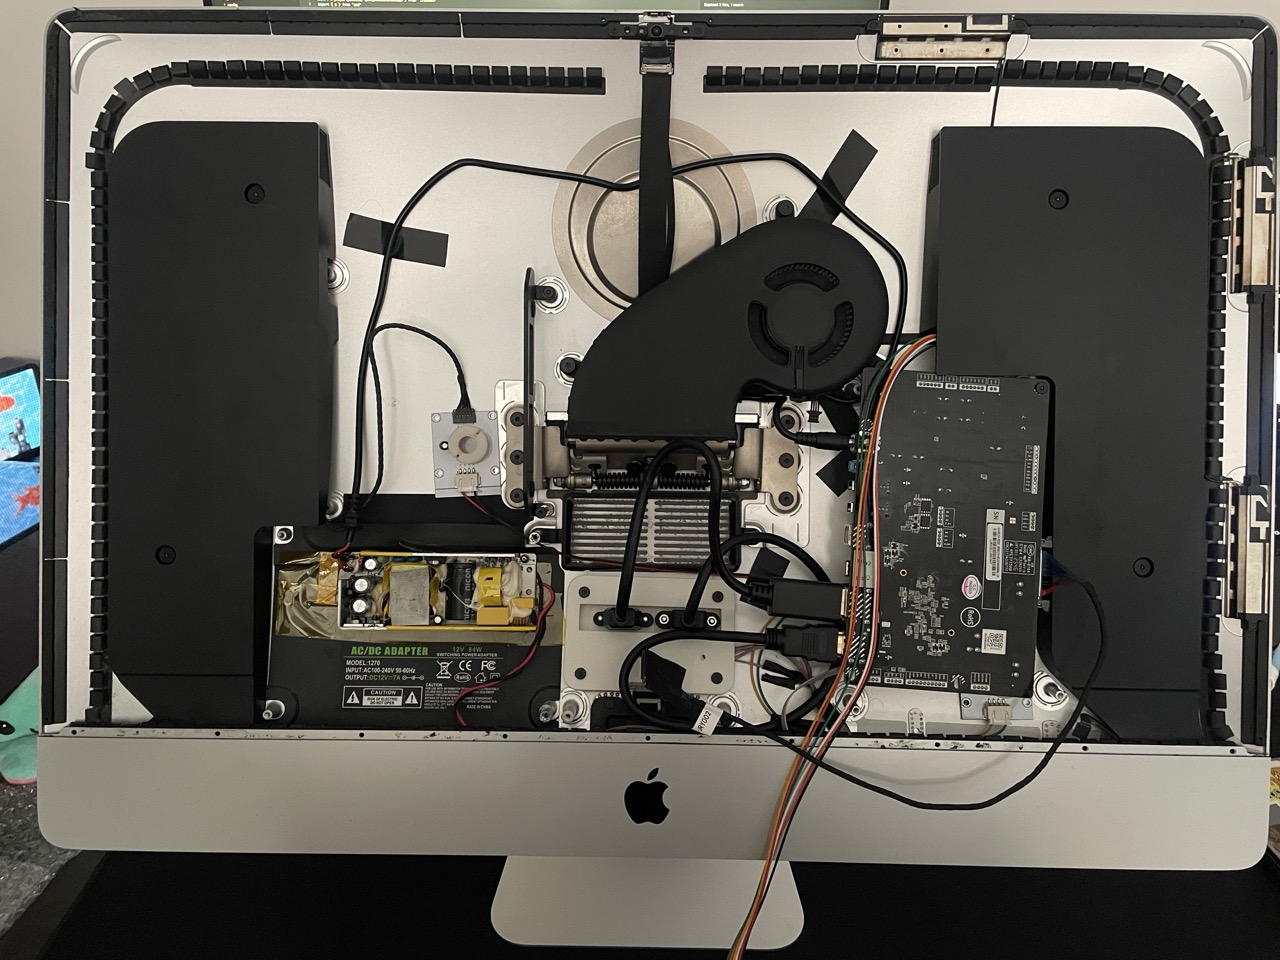
Step 2: Removing the internals
I followed this iMac 5K Monitor Conversion Video Guide to remove the motherboard, power supply, and basically everything that was no longer needed. At this point, we’re essentially turning the iMac into an empty shell, but all of these components have to go, as they’ll be replaced by the controller board that will drive the display instead.
Step 3: Wiring & Connectors
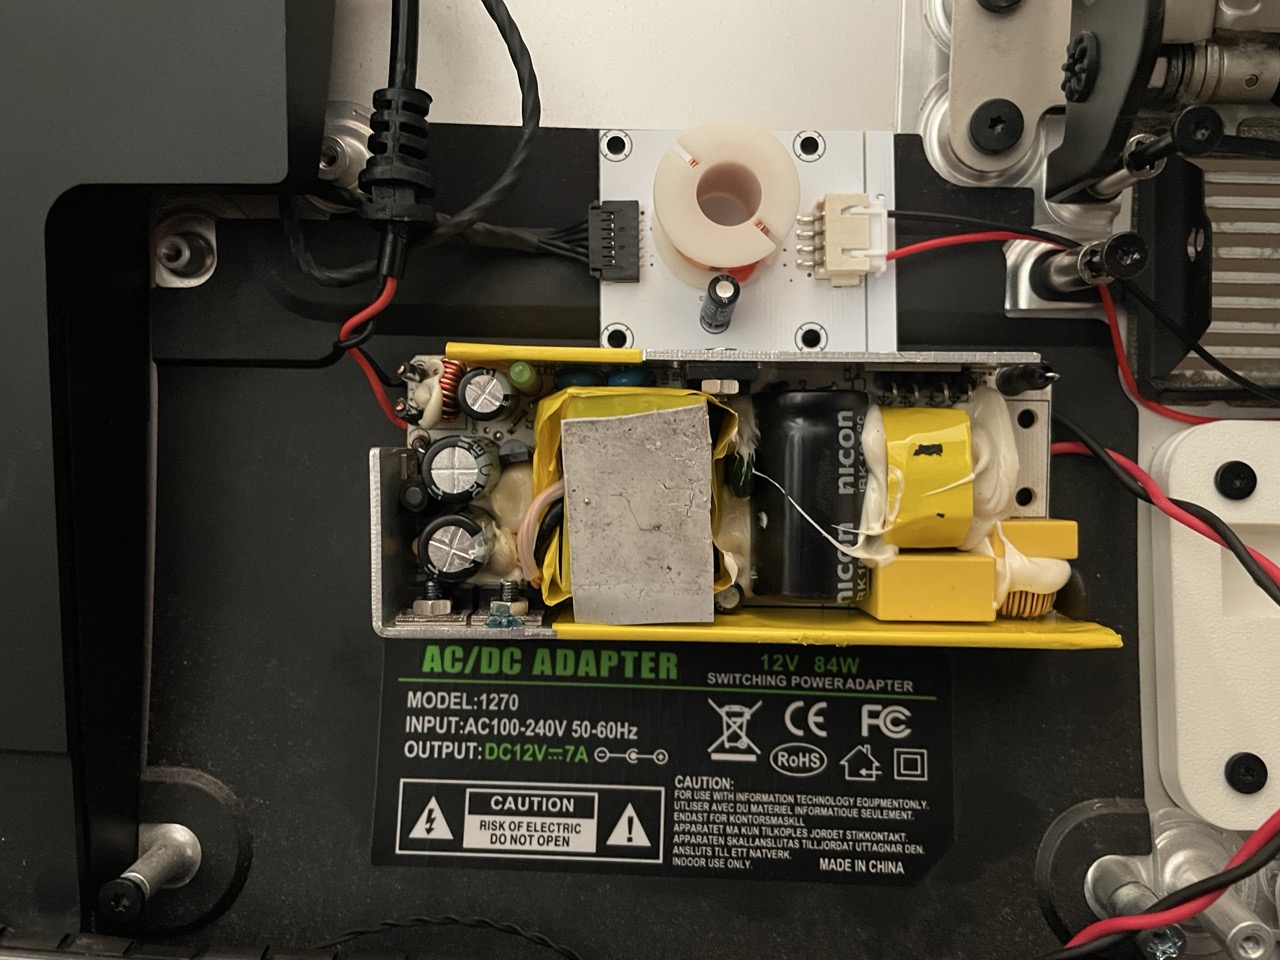
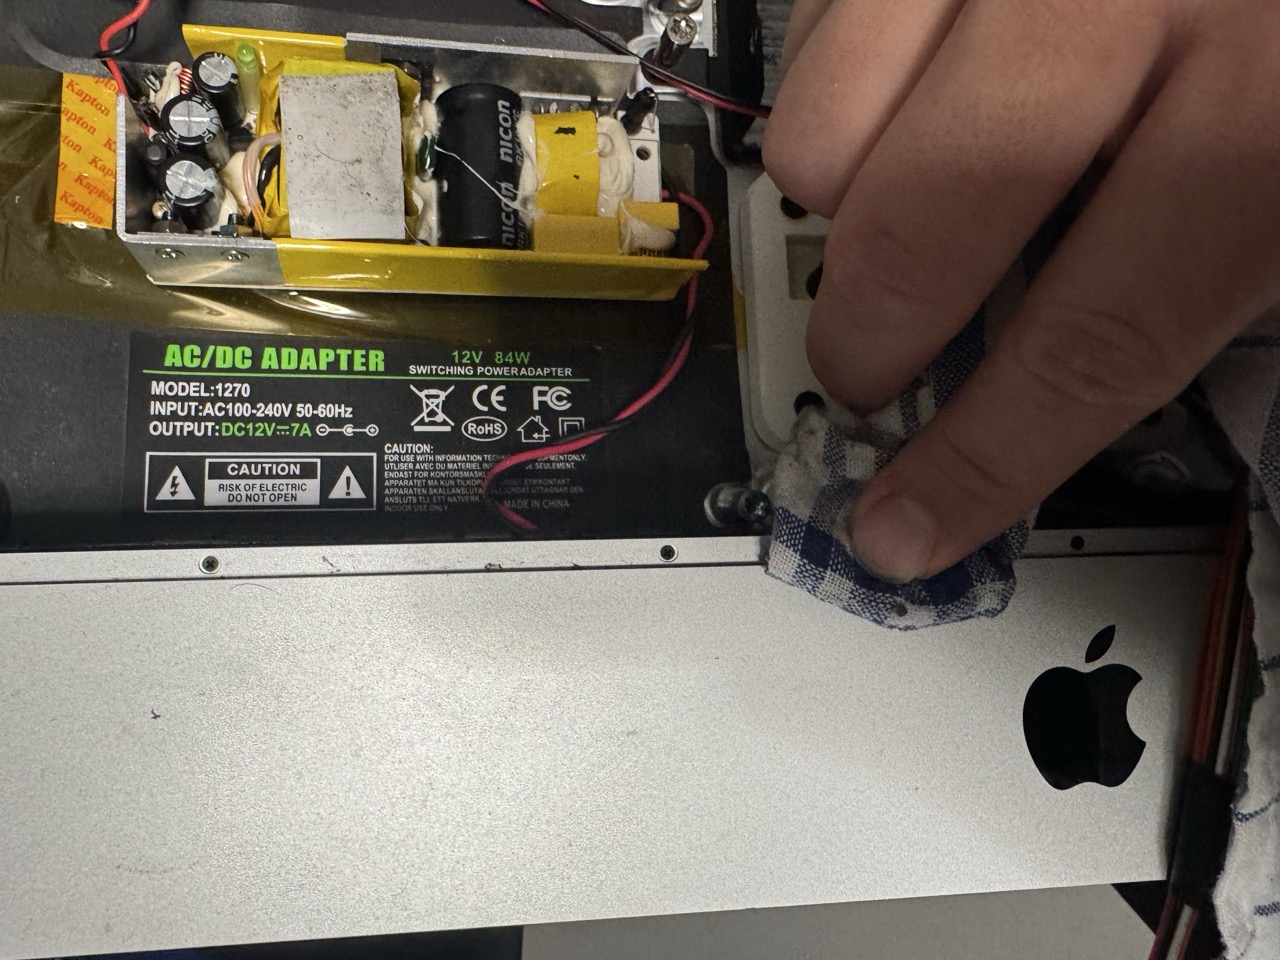
The first thing was to connect the new power supply.
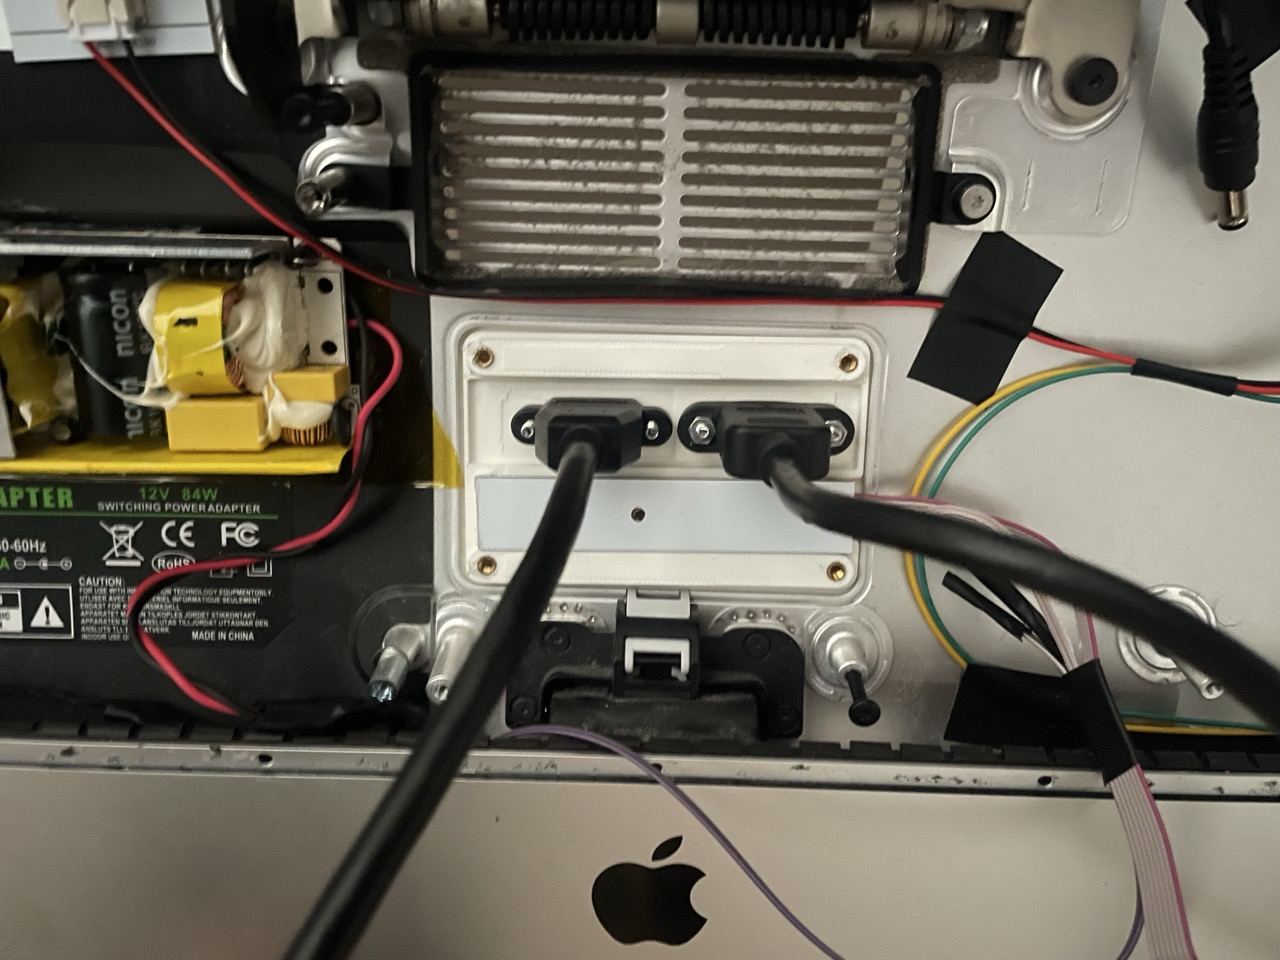
The controller board comes with a regular external power brick similar to a laptop charger, but I wanted to keep the original iMac power cord fully functional. Because of that, I decided to mount the power supply directly inside the chassis and remove its plastic casing to improve cooling and save space.
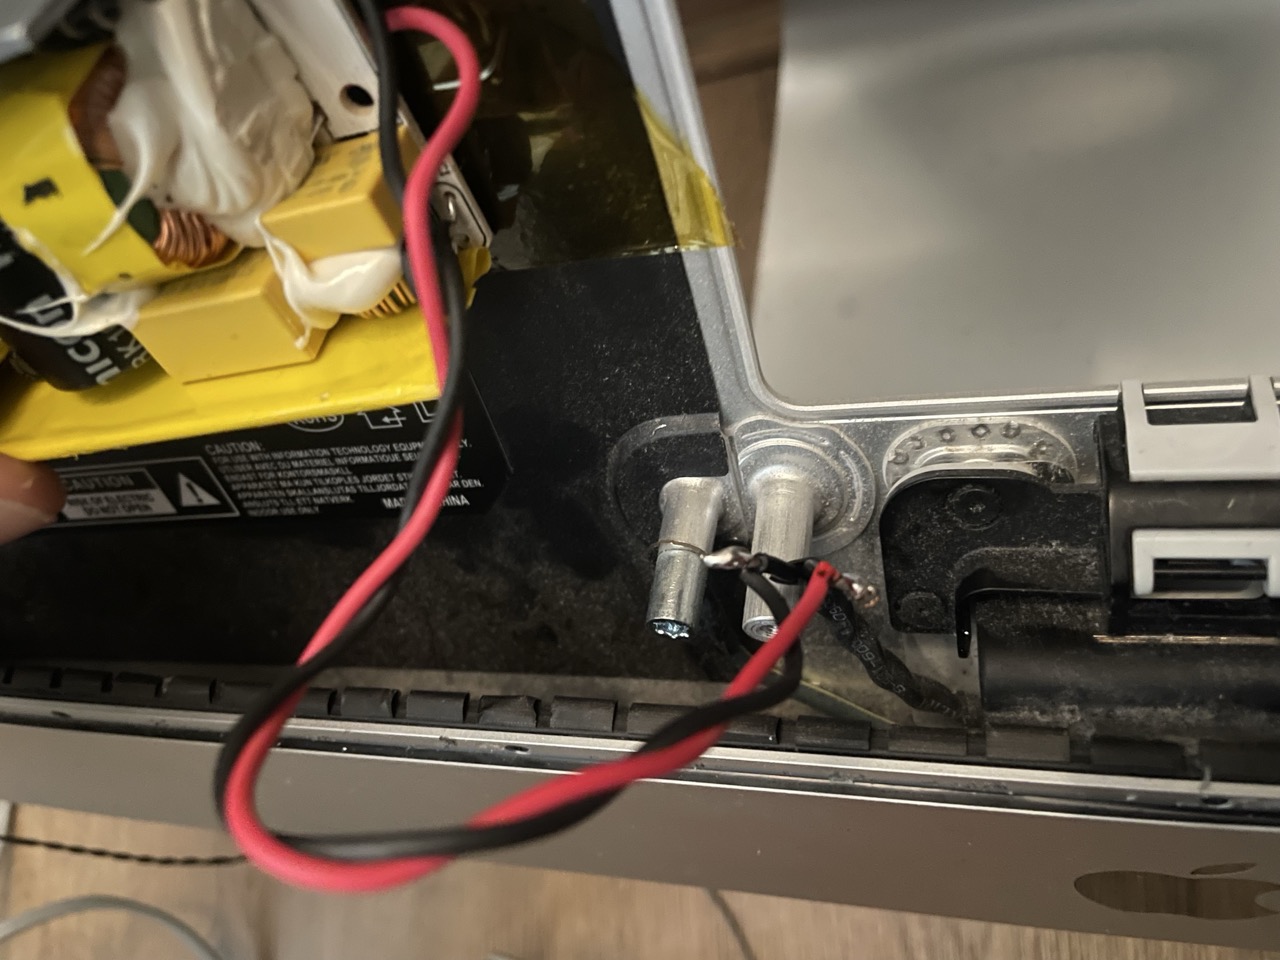
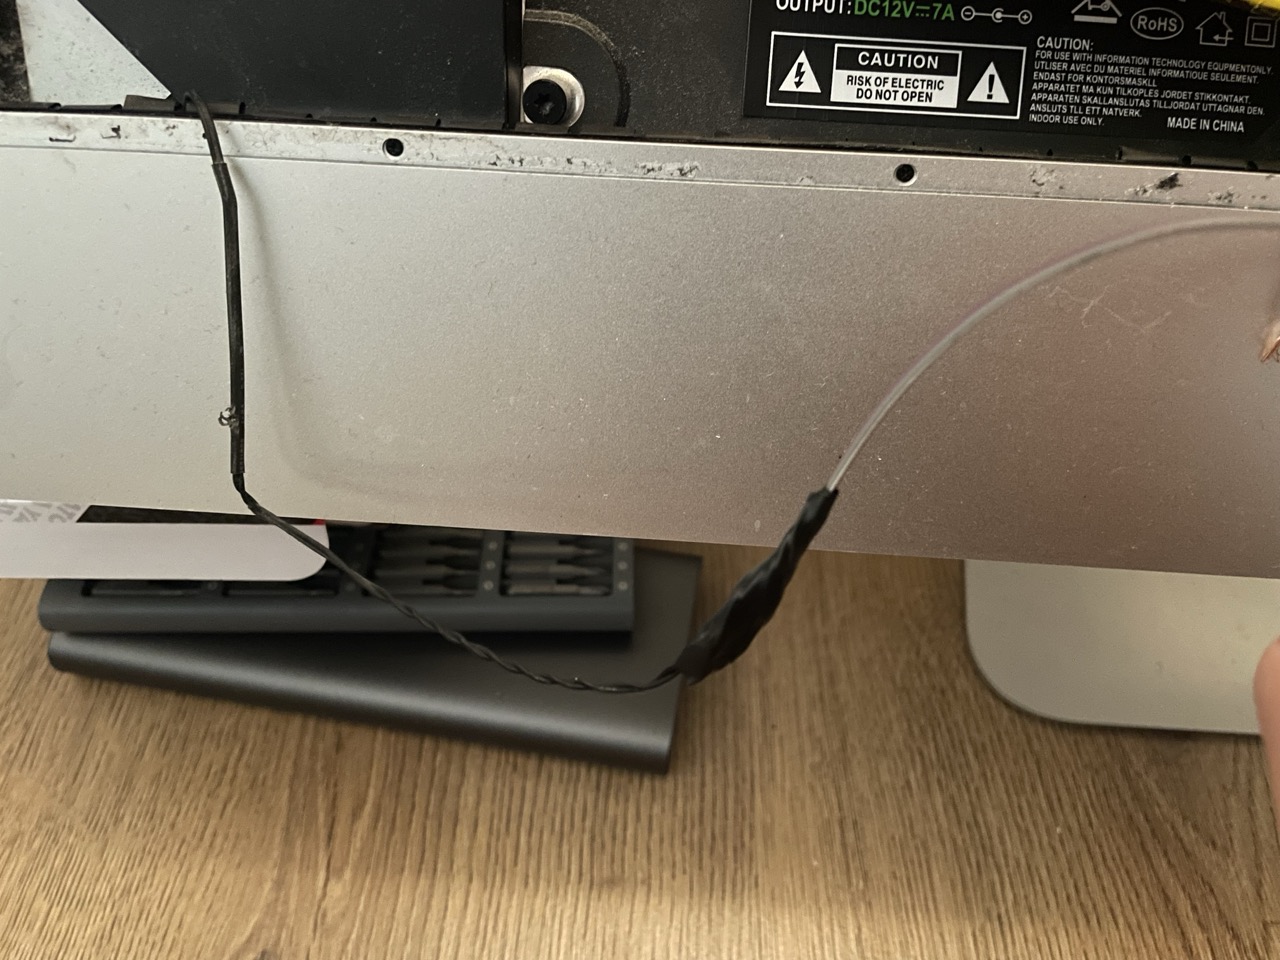
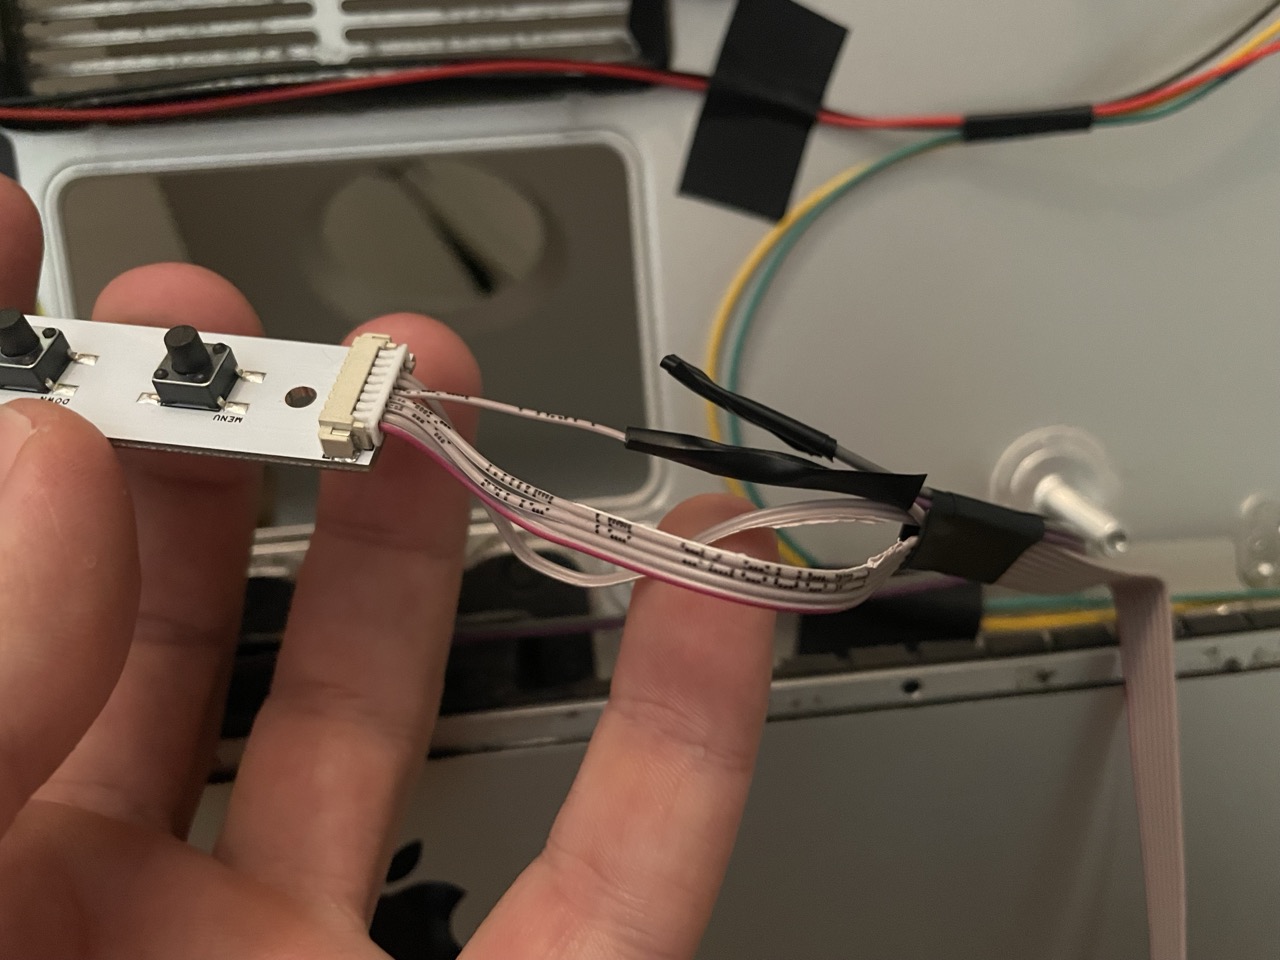
I also wanted to reuse the original power button. To make that work, the button had to be rewired directly to the controller board. This also meant stripping off the last button from the controller board’s control panel, as it would now be replaced by the iMac’s original button.
Next, I used panel-mount video cables to bring the ports to the outside of the iMac.
This is where the 3D printed cover comes in — it replaces the original RAM door and makes everything look much cleaner and more intentional instead of having random cables sticking out of the back.
Step 4: Installing the Controller Board
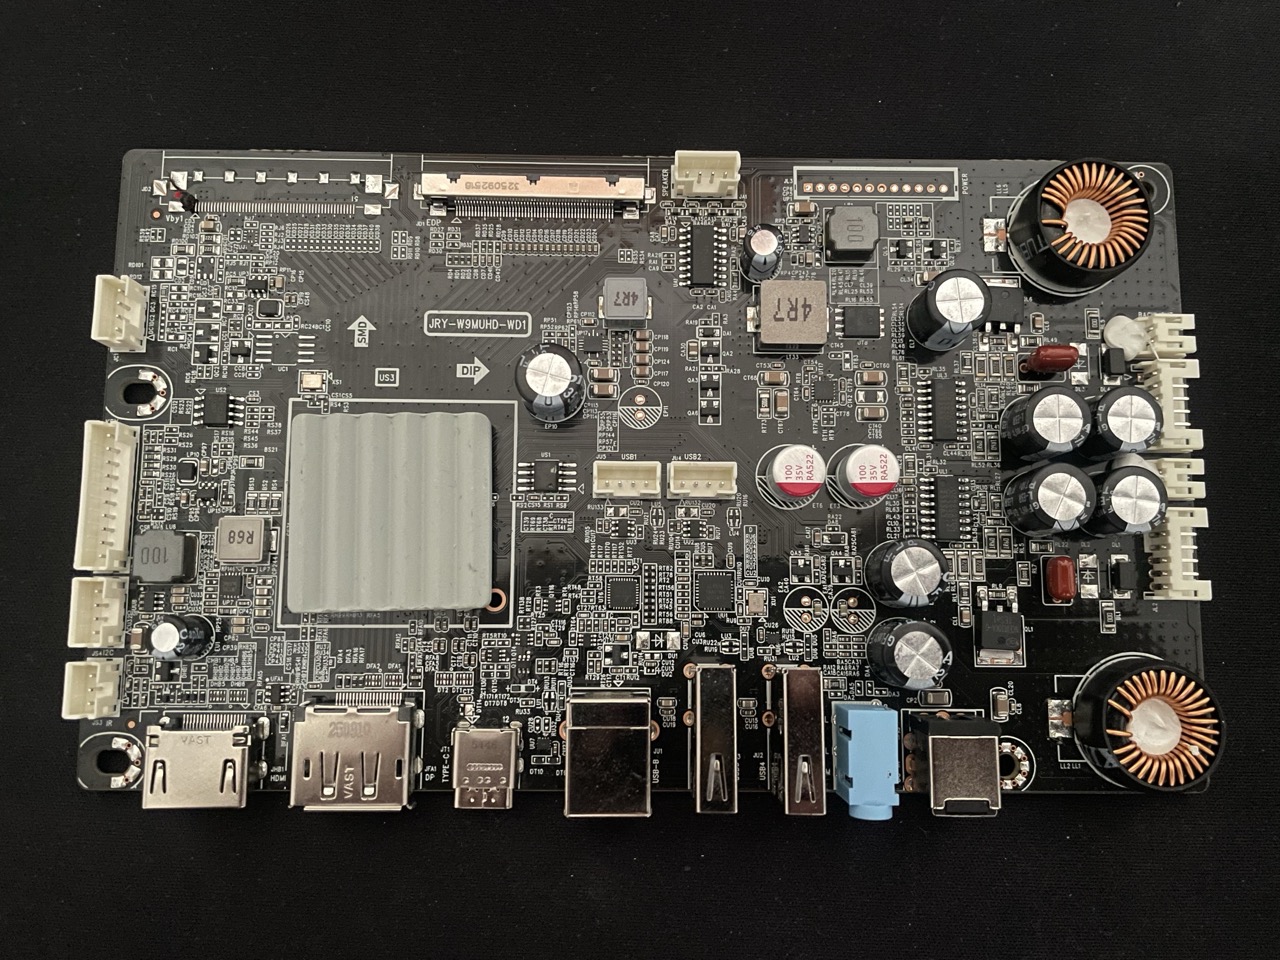
This is the “brain” of the whole setup.
The controller board connects directly to the iMac’s display panel and exposes standard inputs like HDMI and DisplayPort. It also comes with a small control panel for typical monitor settings like brightness, input source selection, and similar controls. I also connected the speakers crossover board here so the original iMac speakers could still be used.
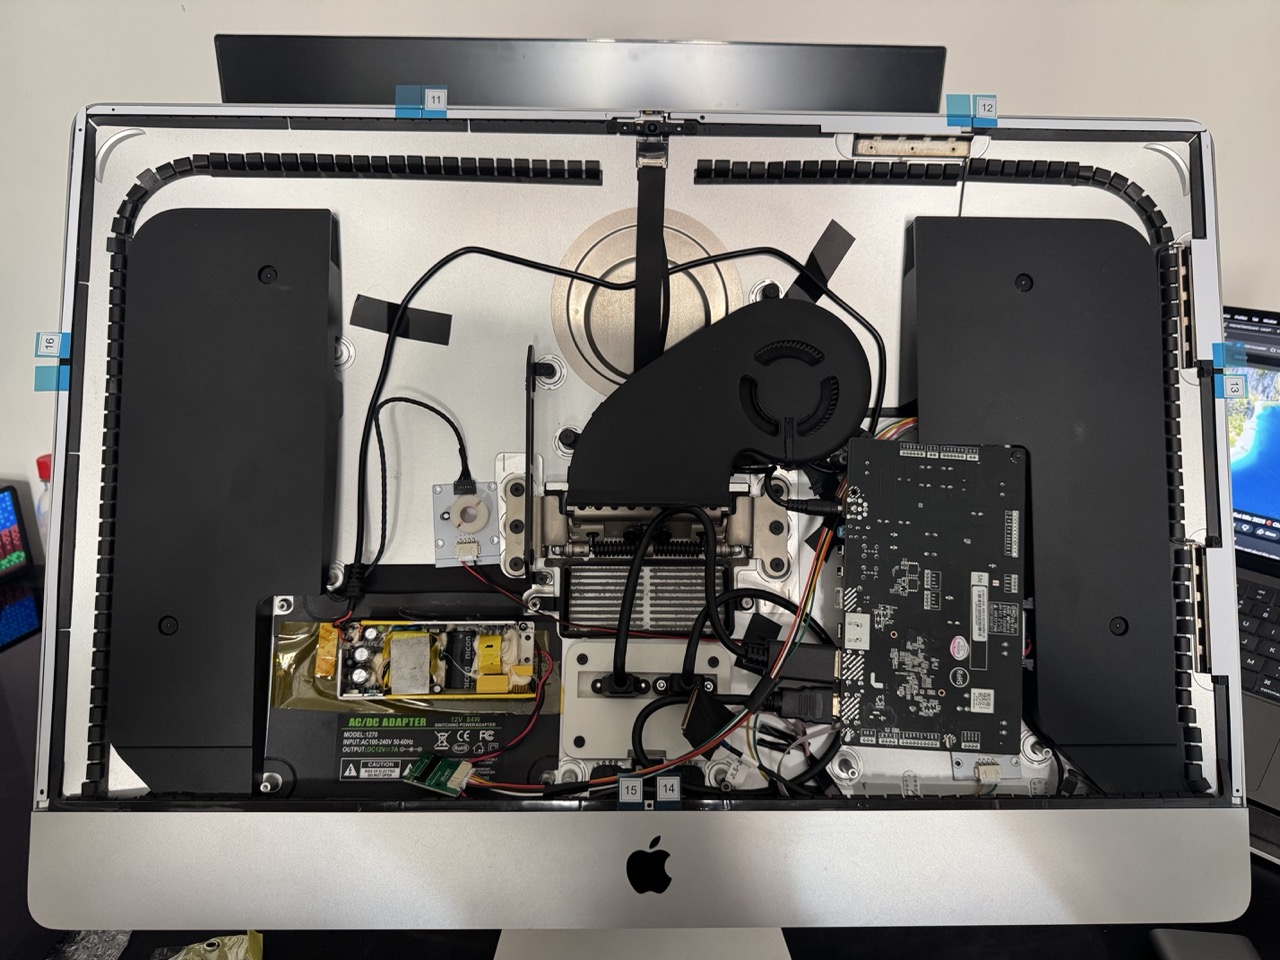
Step 5: Putting It All Together
Once everything was wired up, it was finally time to test whether the whole thing even works.
Honestly, this was probably the most stressful moment of the entire project. Thankfully, the display turned on and everything worked surprisingly well on the first try.
After that, I properly cleaned the edges where the display connects to the chassis and applied the new set of adhesive strips by following this iFixit adhesive replacement guide.
Once the new adhesive was in place, I carefully sealed the display back onto the chassis.
Wrapping up
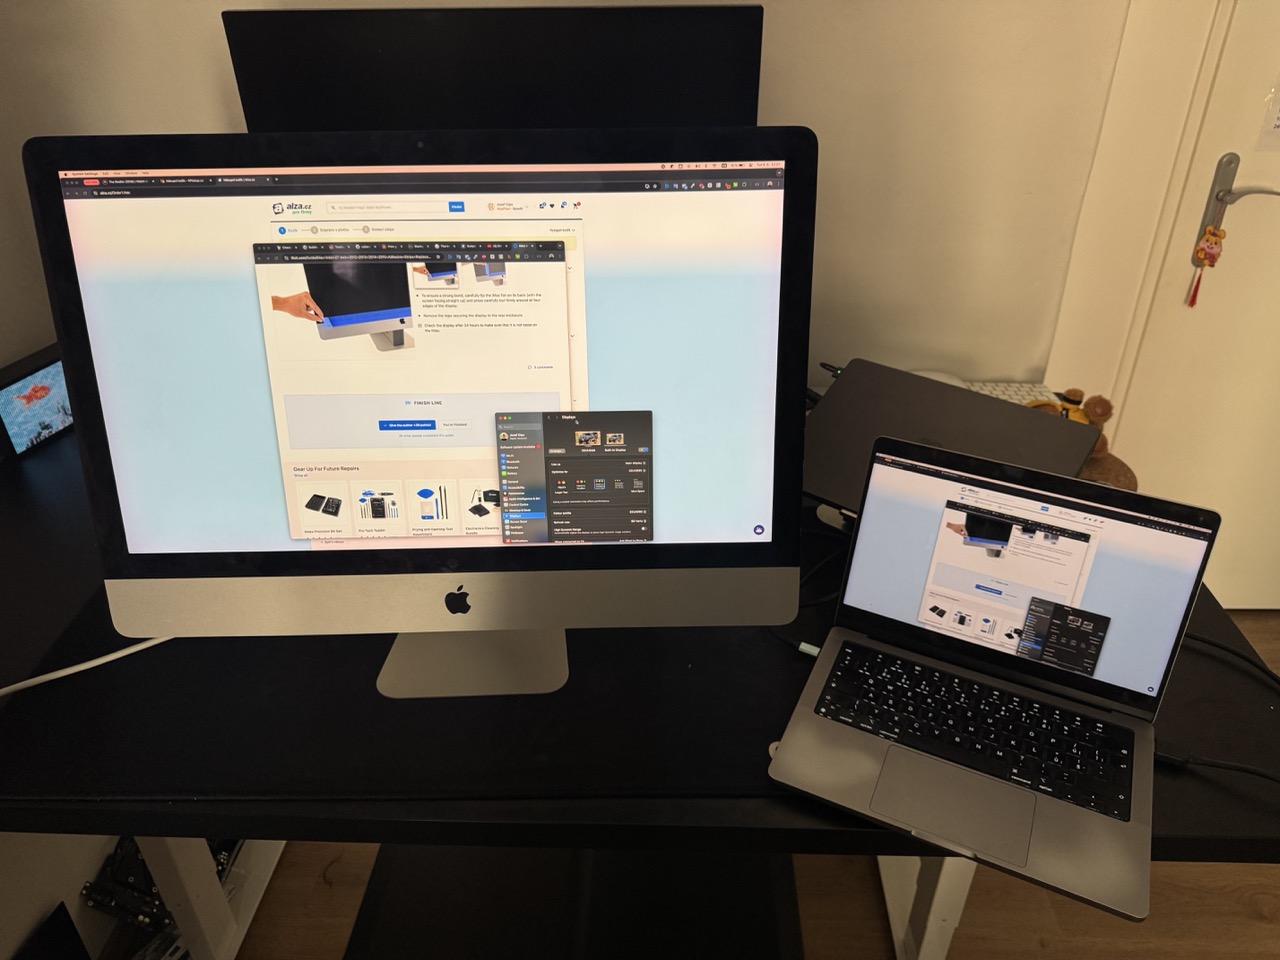
Overall, this was a really fun project from start to finish. It took some research, careful disassembly, a bit of wiring, and a lot of patience, but in the end everything actually worked. I’m now going to use it as my main external monitor and see how it behaves in daily use.
One thing worth mentioning: even though the panel is technically 5K, my MacBook only supports up to 4K (3840x2160) in the display settings when connected. So it doesn’t seem to be running at full native 5K. That said, the image still looks very sharp, so it’s not a big issue for me.
Another thing I ran into is the well-known “pinkish edge” effect that some of these older iMac displays have because of the panel technology. Unfortunately mine has it as well, so that’s something to be aware of if you’re planning a similar build — it can be noticeable on light backgrounds.
Anyway, it was a cool project, I enjoyed the process, and now I finally have the classic 27” iMac sitting on my desk.