Self signed SSL certificates on iOS
Recently I was working on a project and I needed to add an SSL certificate for the API service. Normally you would use Let’s Encrypt or some other certificate authority after deploying the service. In this case, though, my service will always only run on a local network and thus I have to generate a self-signed certificate.
I already wrote a post about generating custom SSL certificates in the past. However, since then I came across a way better and nicer solution called mkcert (Github repo). If you don’t know this tool, I recommend taking a look if you ever need to generate the SSL certificates locally.
The whole process is very easy and seamless and you soon end up with generated certificates that you can add to your application or a web server such as NGINX or similar.
But, what happens if you open a website with such a certificate on your mobile device (assuming it’s on the same network as the API obviously)?
Let’s say our application is exposed at the IP address 192.168.0.199. Opening that in the browser would give us the following screen.
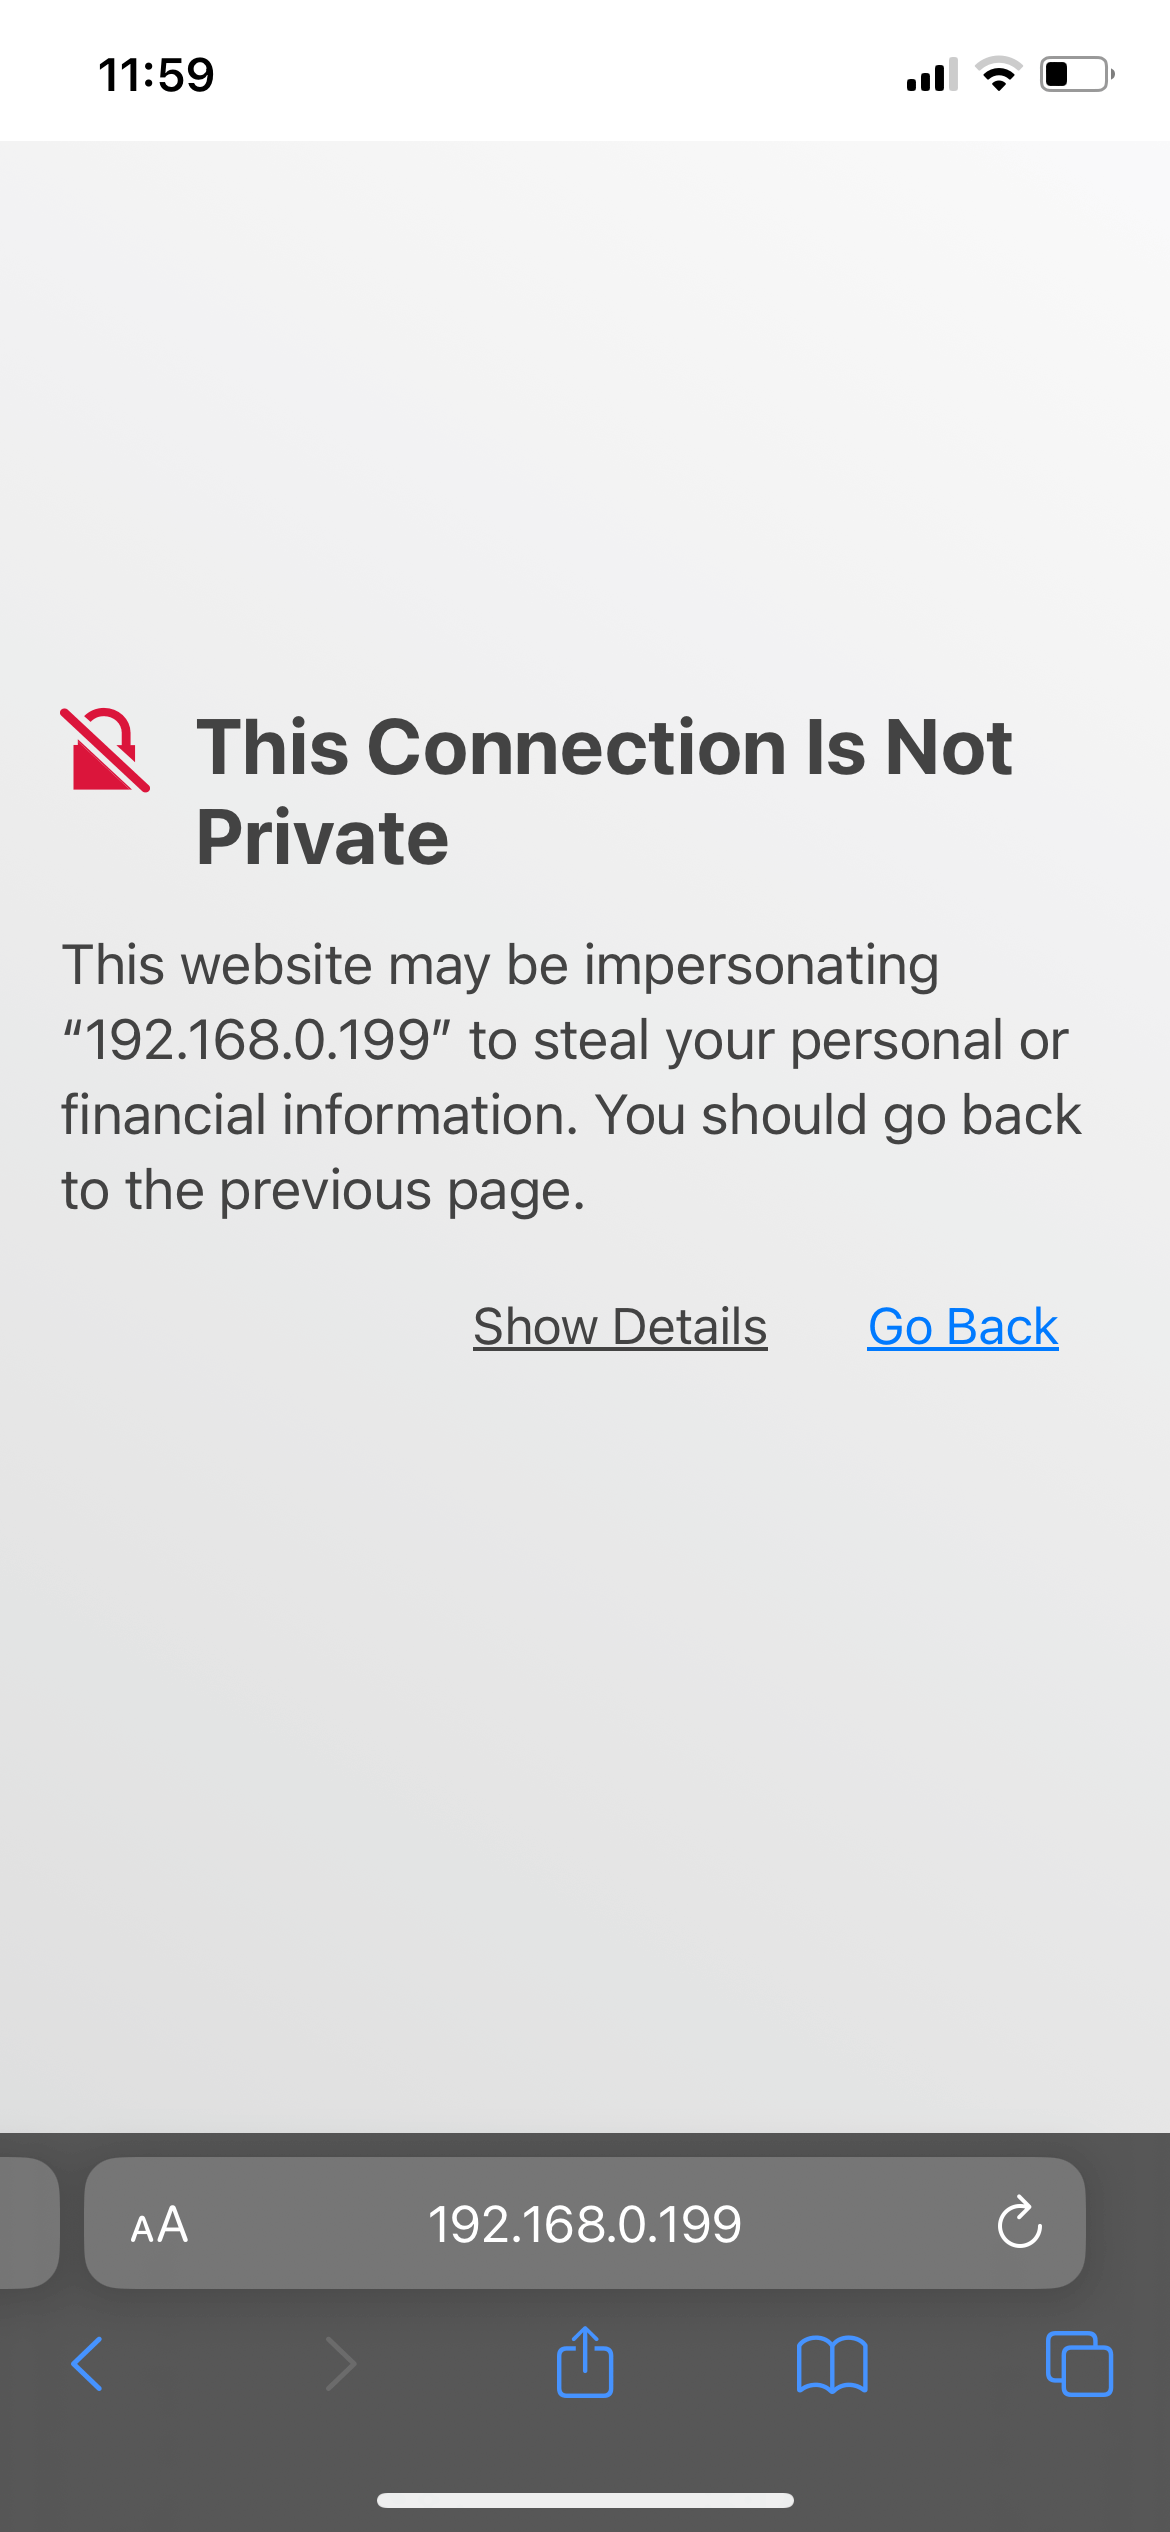
Yikes, how’s that possible you ask? We do have the SSL certificate set up after all.
Well, that’s because even though we have indeed added the certificate, it’s not recognized by the browser as it has not been signed by a trusted certificate authority (CA). CA verifies the authenticity of the website and ensures it’s legitimate and secure. Without a trusted CA, browsers may display warnings or block access to websites with self-signed or unverified SSL certificates. And that’s exactly what happened here.
Therefore we need to make sure the iPhone recognizes our custom certificate authority.
mkcert automatically creates and installs a local CA in the system root store, and generates locally-trusted certificates
mkcert comes in handy and we can find the local CA by calling
$ mkcert -CAROOT
This will return a path to the root certificate, which might look like this
/Users/jozefcipa/Library/Application Support/mkcert
If you open this path you will find a file called rootCA.pem
This is the CA certificate that we need to register on our iPhone. We can send the file over to the iPhone using Airdrop.
After we accept the file, let’s open Settings and tap on “Profile Downloaded” and then “Install”.


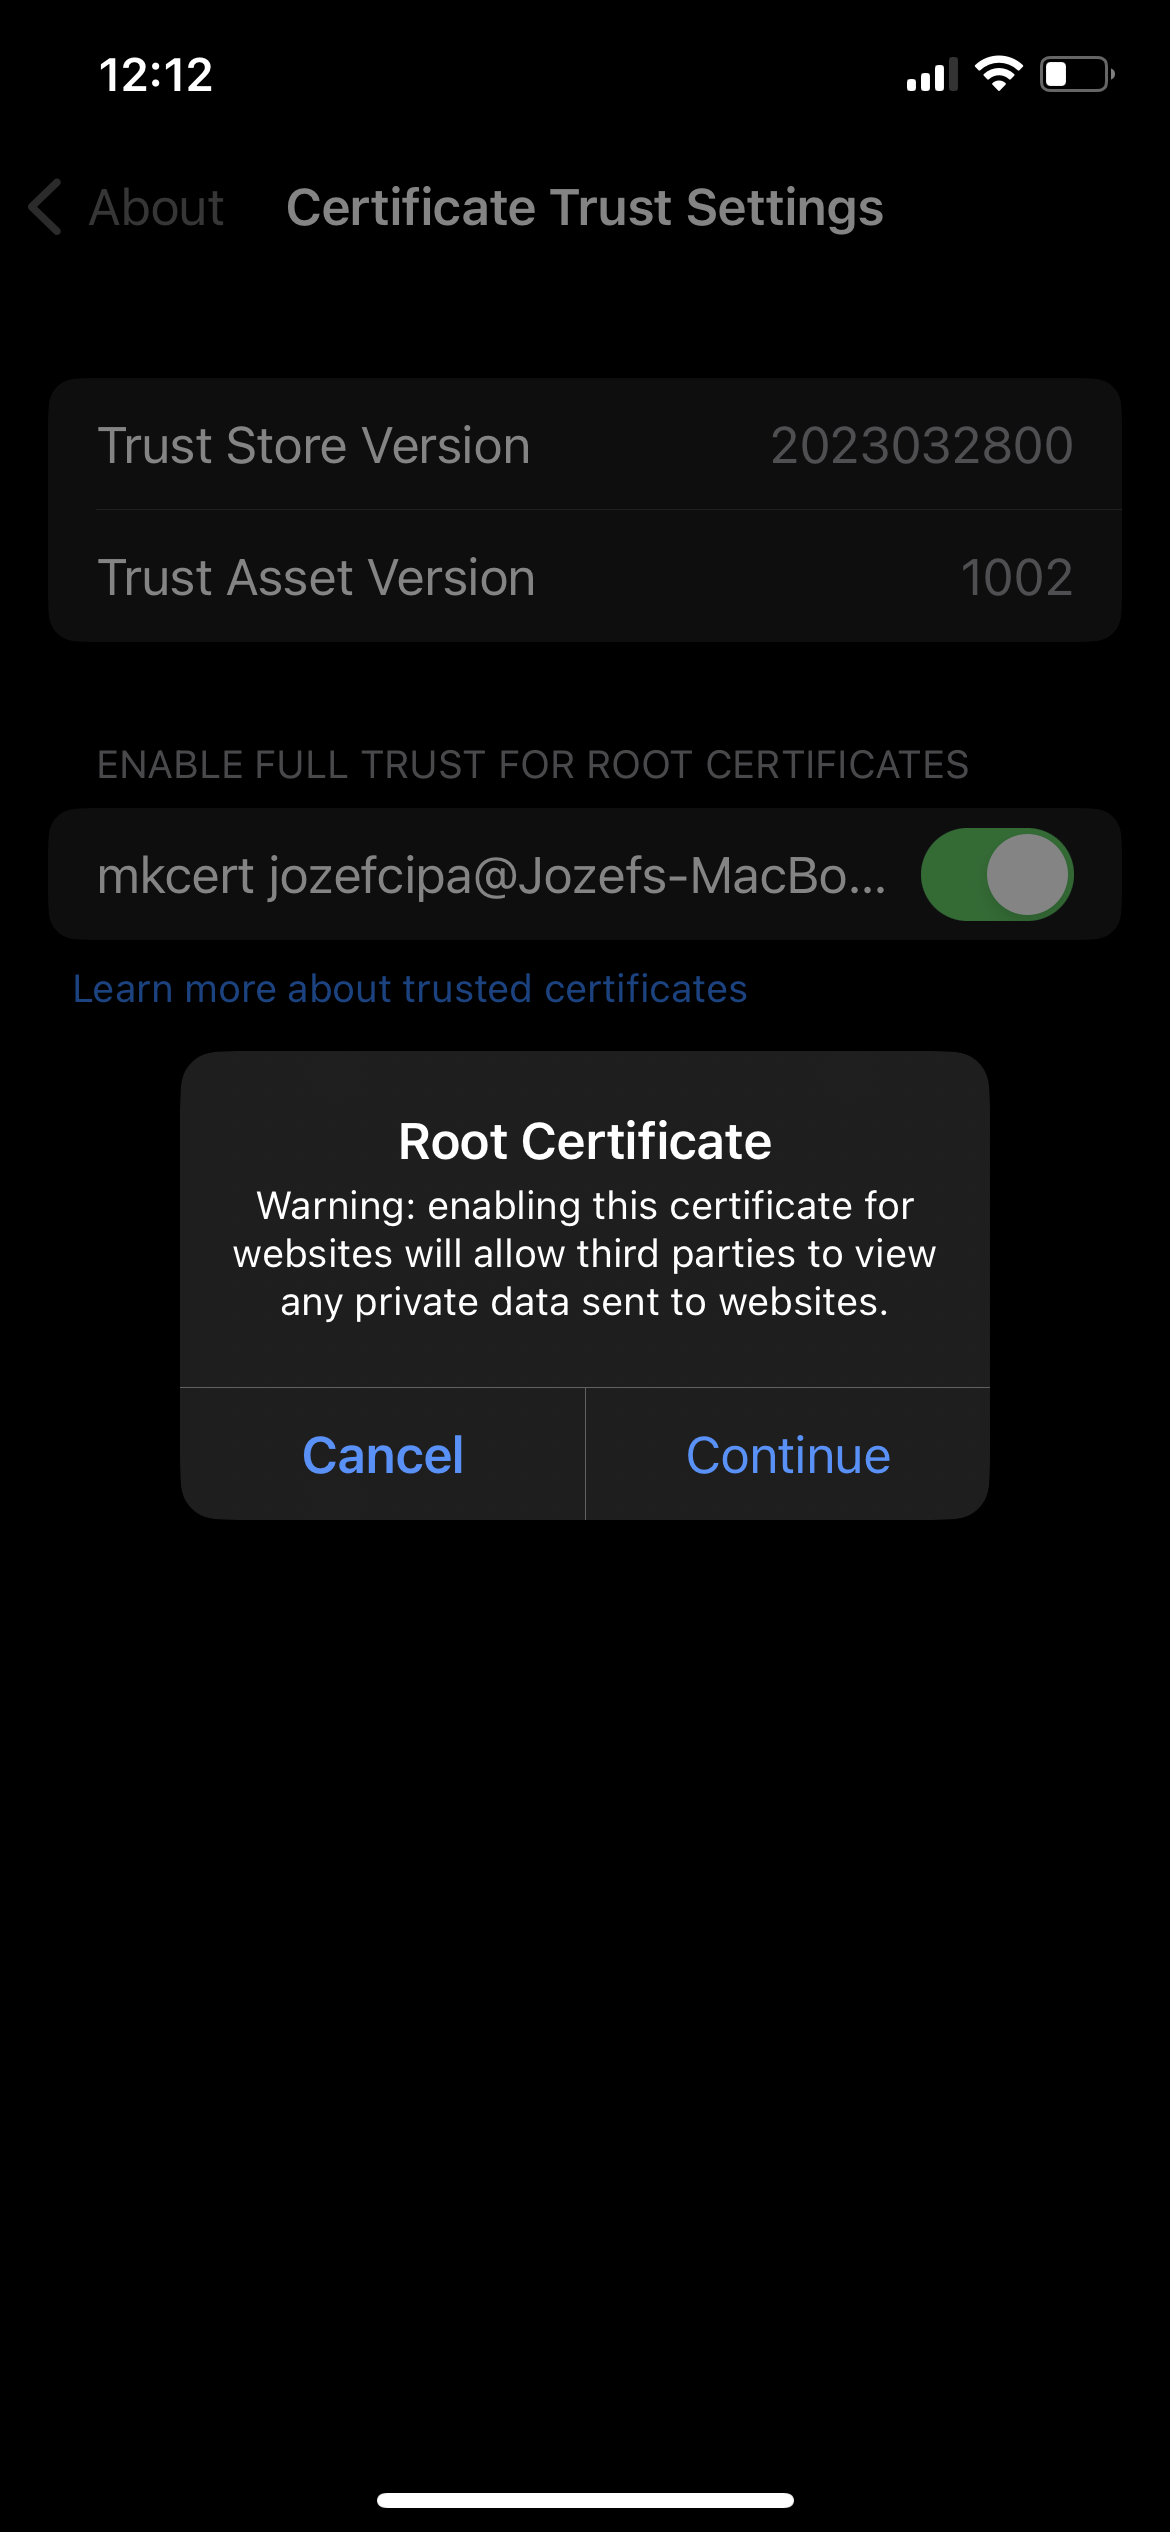
Now that we have installed the certificate, we have to enable Full Trust.
Let’s go to Settings → General → About → Certificate Trust Settings and switch the toggle on.
Now the iPhone will start accepting our generated self-signed SSL certificates as it knows the root Certificate Authority that signed these certificates.
Refreshing the website again will give us the website and we can also notice the little lock symbol in the search bar 🎉.